Index
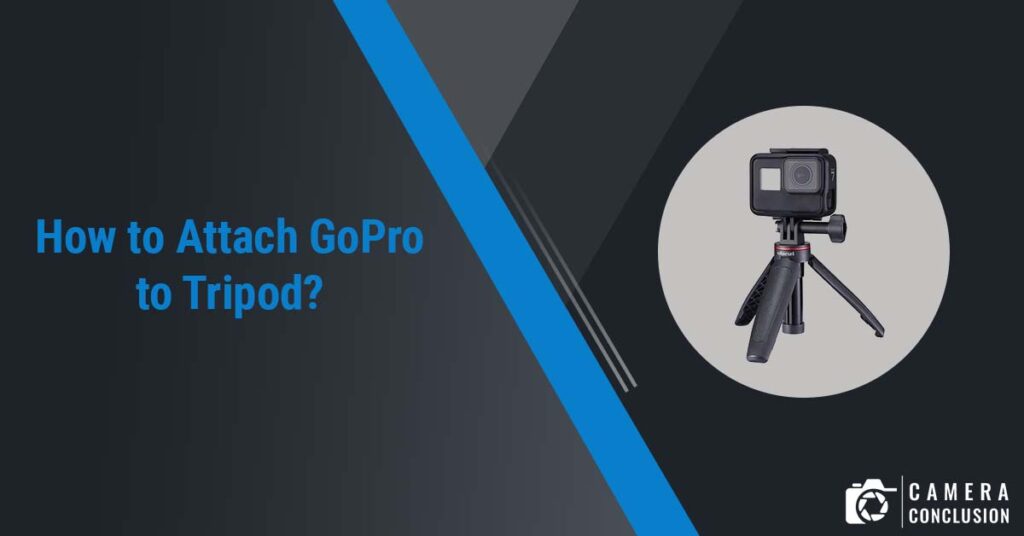
GoPro cameras have become increasingly popular for capturing high-quality footage in a variety of settings. Whether you’re shooting an action-packed adventure or simply looking to capture a memorable moment, a tripod can be an essential tool for stabilizing your footage and achieving professional-quality shots.
Attaching your GoPro to a tripod may seem like a daunting task, but with the right tools and a little bit of know-how, it can be a quick and easy process. In this guide, we’ll walk you through the steps to attach your GoPro to a tripod and ensure that your footage is smooth and stable, no matter what kind of action you’re filming.
Preparation
Attaching a GoPro to a tripod is a simple process that can be completed in a few steps. Here’s what you need to do to prepare:
- Ensure that you have the necessary equipment: You will need a tripod and a GoPro mount. Most tripods have a universal 1/4-inch screw, which is compatible with most GoPro mounts.
- Check the compatibility of the mount: Ensure that the mount is compatible with your GoPro model. Most GoPro mounts are designed to work with multiple models, but it’s still important to double-check.
- Clean your equipment: Before attaching your GoPro to the mount, make sure that both your GoPro and the mount are clean and free from dirt and debris. This will help prevent any damage to your camera and ensure that it stays securely in place.
- Familiarize yourself with the mount: Make sure that you understand how the mount works and how it attaches to the tripod. Read the instructions if necessary, or watch a tutorial online to ensure that you know what you’re doing.
Attaching the Tripod Mount
Once you’ve prepared your equipment, you can follow these steps to attach your GoPro to a tripod:
- Locate the GoPro mount: This is a small plastic piece that connects to the bottom of your GoPro. Most GoPros come with a mount, but if you don’t have one, you can purchase one separately.
- Screw the mount onto the tripod: The GoPro mount should have a screw on the bottom that is designed to fit onto the standard tripod screw. Locate the screw on your tripod and screw the mount onto it. Make sure that it’s securely attached.
- Attach the GoPro to the mount: Once the mount is securely attached to the tripod, you can attach your GoPro to the mount. Simply slide the GoPro into the mount until it clicks into place. Make sure that it’s securely attached.
- Adjust the angle: Depending on the type of tripod you’re using, you may be able to adjust the angle of the GoPro to get the shot you want. Check your tripod’s instructions to see how to do this.
- Test the setup: Before you start filming, it’s a good idea to test the setup to ensure that everything is working properly. Check that the GoPro is securely attached to the mount and that the tripod is stable. You can also do a quick test shot to make sure that the angle is right and the footage looks good.
By following these steps, you should be able to easily attach your GoPro to a tripod and start capturing amazing footage.
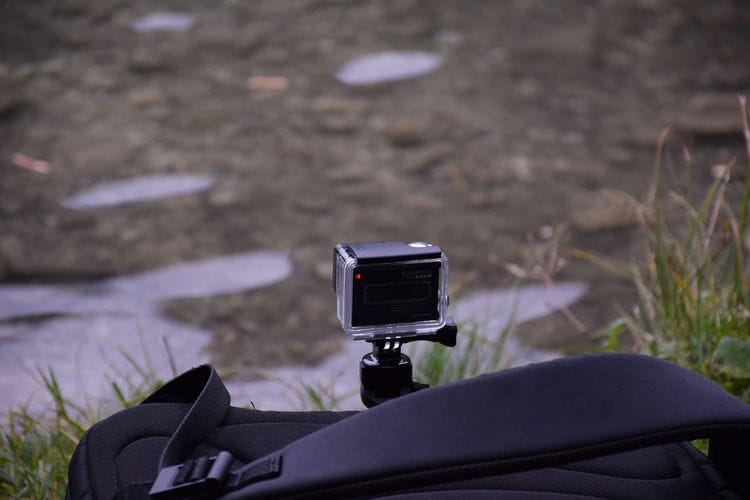
Securing the GoPro
After attaching the GoPro to the tripod mount, it’s important to take a few extra steps to ensure that your camera is securely attached and won’t fall off during filming. Here’s what you can do:
- Tighten the mount: Make sure that the GoPro mount is tightly screwed onto the tripod. You can use a screwdriver or a coin to tighten it if necessary.
- Check the angle: Make sure that the GoPro is pointed in the direction you want and that the angle is secure. Adjust the tripod legs as necessary to make sure that the camera won’t tip over.
- Use a safety tether: GoPro cameras come with a small loop on the side that can be used to attach a safety tether. A safety tether is a small strap that attaches to the GoPro and the tripod. It’s an extra layer of protection that will prevent the camera from falling if the mount fails.
- Double-check everything: Before you start filming, double-check that everything is secure. Give the camera a gentle tug to make sure that it won’t fall off, and test the angle and framing to make sure that it’s what you want.
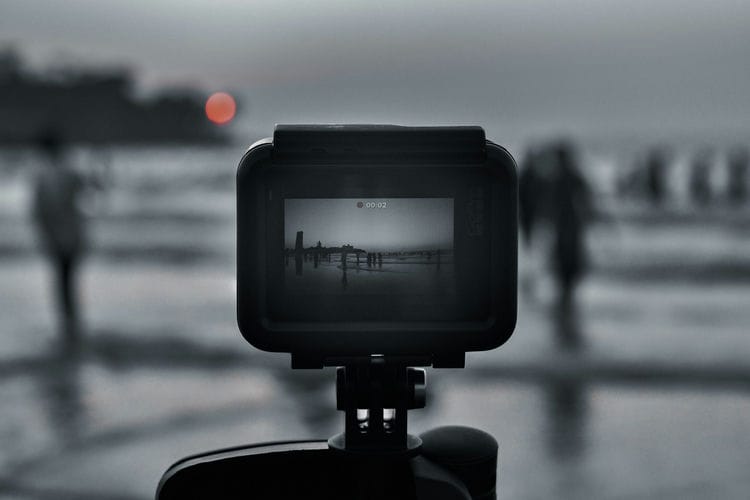
Composing the Shot
Composing the shot will depend on your creative vision for the video or photo you want to capture. Use the tripod to stabilize the camera and experiment with different angles, distances, and framing to achieve the desired composition. You can also use the GoPro app on your smartphone to remotely control the camera and preview the shot before taking it.
Taking the Photo
To take a photo with your GoPro attached to a tripod, follow these steps:
- Set up your shot: Use the tripod to position the camera in the desired location and frame your shot. Make any necessary adjustments to the camera angle, distance, and framing until you’re happy with the composition.
- Adjust the camera settings: Use the GoPro app or the camera’s built-in controls to adjust the camera settings, such as the photo mode, resolution, and exposure. You can also enable features like burst mode, time-lapse, or self-timer depending on the type of photo you want to capture.
- Use a remote or self-timer: To take the photo, you can use a remote control to trigger the shutter or set a self-timer. If you’re using a GoPro remote, make sure it’s paired with the camera and set to the correct mode. Alternatively, you can use the camera’s built-in self-timer to take the photo automatically after a set delay.
- Take the photo: Once everything is set up and the camera is ready, simply press the remote button or wait for the self-timer to count down and take the photo. Keep the camera steady and avoid touching it during the exposure to avoid any blurring.
- Review the photo: After taking the photo, review it on the camera’s screen or use the GoPro app to preview it on your smartphone. Check for exposure, focus, and any other issues that may affect the quality of the photo. If needed, you can adjust the camera settings and retake the photo until you get the desired result.
Remember that the key to taking great photos with a GoPro is to experiment and try different techniques to achieve the desired effect. Don’t be afraid to take multiple shots, adjust the camera settings, and be creative with your compositions.
After the Shoot
After you have finished shooting with your GoPro attached to a tripod, here are some tips on what to do next:
- Remove the camera from the tripod: First, release the camera from the tripod by unlocking the mount or quick-release plate. Make sure to handle the camera with care and avoid dropping it.
- Back up your footage: Transfer your footage from the camera to your computer or an external hard drive as soon as possible. This will help ensure that your footage is safe in case the camera is lost or damaged. You can use the GoPro app, a card reader, or a USB cable to transfer the footage.
- Edit your footage: Once you have your footage on your computer, you can use editing software like Adobe Premiere Pro, Final Cut Pro, or iMovie to edit and enhance your video. You can trim, crop, color-correct, add effects, and more to make your footage look its best.
- Share your footage: Once your video is edited, you can share it with your friends, family, or social media followers. You can upload it to YouTube, Facebook, Vimeo, or other video sharing platforms. Make sure to follow the platform’s guidelines for video quality, size, and format.
- Clean and store your gear: Finally, clean your camera and tripod after use to remove any dirt, dust, or fingerprints that may have accumulated. Store your gear in a dry, cool place to prevent damage from moisture, heat, or sunlight. You can use a camera bag, a case, or a storage box to keep your gear organized and protected.
By following these tips, you can make sure that your footage is safe, organized, and ready for the next shoot.
Conclusion
Attaching a GoPro to a tripod is a simple process that can help you capture stable and high-quality footage for your videos or photos. By following the steps outlined above, you can easily attach your GoPro to a compatible tripod mount, compose your shot, take your photo or video, and safely store and share your footage. Whether you’re shooting action sports, travel, or vlogging, a tripod can be a valuable tool for enhancing the quality and professionalism of your content. So go ahead and experiment with different angles, techniques, and styles to create stunning visuals that will amaze and inspire your audience.