Index
If you’re a photographer or videographer, you know how important it is to have a stable tripod. A shaky tripod can ruin your shots and make your footage or photos unusable. Fortunately, there are several ways to make your tripod more stable and ensure that you get the best results possible. In this guide, we’ll take a look at some simple techniques and tips that you can use to stabilize your tripod and take your photography or videography to the next level. Whether you’re shooting in low light, using a heavy lens, or dealing with windy conditions, these tips will help you get the stable shots you need.
Choosing a Stable Location
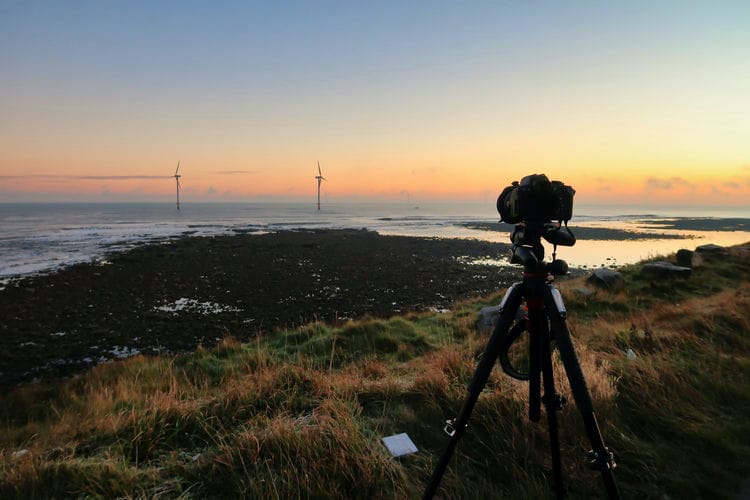
One of the most important factors in achieving a stable shot with your tripod is choosing a stable location. Even the most expensive and advanced tripod won’t be able to compensate for a shaky or uneven surface. Before you set up your tripod, take a few moments to scout the area and look for a level and stable surface. If you’re shooting outdoors, this may mean looking for a flat patch of ground free of rocks or other debris. Indoors, you’ll want to find a solid floor that isn’t prone to vibration or movement.
If you’re shooting on an unstable surface, like a sandy beach or a rocky mountainside, you may need to improvise. One option is to bring along a set of spike feet for your tripod, which can provide better stability on soft ground. Alternatively, you could use sandbags or other weights to anchor the tripod and prevent it from moving. Regardless of where you’re shooting, taking the time to find a stable location for your tripod is a critical first step in achieving stable and sharp shots.

Using the Center Column
When it comes to achieving a stable shot with your tripod, the center column can be both a help and a hindrance. While extending the center column can give you a bit of extra height, it also increases the likelihood of camera shake and can make the tripod more susceptible to wind and other vibrations. As a general rule, it’s best to keep the center column retracted as much as possible to maintain the stability of the tripod.
However, if you do need to use the center column, there are a few techniques you can use to minimize its impact on stability. First, try to extend the center column as little as possible to achieve the height you need. You can also use a hook or other weight to add additional stability to the center column by hanging your camera bag or other heavy object from it. This will help counterbalance the weight of the camera and lens and reduce the risk of vibration or camera shake.
Finally, it’s worth noting that some tripods are designed with a removable center column, which can be repositioned horizontally for low-angle shots. If your tripod has this feature, you can remove the center column entirely and use it as a crossbar to create a stable base for your camera. By using the center column strategically, you can help improve the stability of your tripod and achieve better results in your photography or videography.
Adding Weight to the Tripod
One effective technique for improving the stability of your tripod is to add weight to it. By increasing the overall weight of the tripod, you can reduce the risk of tipping or shaking, particularly in windy or unstable conditions. There are a few different ways to add weight to your tripod, depending on the type of tripod you have and the shooting situation you’re in.
One simple way to add weight to your tripod is to hang a camera bag or other heavy object from the center column or hook. This can help to stabilize the tripod and prevent it from tipping over. You can also attach weights to the legs of the tripod using specially designed sandbags or other weights.
Another option is to use a heavy-duty tripod that is designed to support more weight than you typically use. A heavier tripod will be more stable and less likely to move or shake, particularly in windy conditions. Of course, this option can be more expensive, but it may be worth the investment if you’re frequently shooting in challenging conditions.
Ultimately, the key to adding weight to your tripod is to find a solution that works for your specific needs and shooting situation. By taking steps to increase the stability of your tripod, you can achieve better results and take your photography or videography to the next level.
Using the Tripod’s Feet
The feet of your tripod are a crucial element in achieving stability, and using them correctly can help you get a steady shot. Most tripods come with rubber feet, which provide good traction on hard surfaces but can slip on smooth surfaces or become unstable on uneven terrain. If you’re shooting on a slick surface or rocky terrain, you may want to consider swapping out your rubber feet for spike feet or other specialized feet that provide better traction and stability.
Another way to make the most of your tripod’s feet is to adjust the angle of the legs to suit the terrain. For example, if you’re shooting on a steep slope, you can adjust the angle of one or more legs to ensure that the tripod is level and stable. Additionally, spreading the legs wider can help improve the stability of the tripod, particularly in windy conditions.
If you’re shooting on a smooth or hard surface, you can also use the weight of your body to add stability to the tripod. By leaning gently into the tripod, you can help to anchor it to the ground and prevent it from moving or tipping over. This technique is particularly effective when shooting in crowded or unstable areas, where the risk of someone accidentally bumping into your tripod is high.
In summary, paying attention to your tripod’s feet and using them correctly is an important step in achieving a stable shot. By using the right feet for the terrain, adjusting the angle of the legs, and using your body weight to anchor the tripod, you can get the stable and sharp shots you need for your photography or videography.

FAQs
Conclusion
In conclusion, achieving a stable shot is essential for getting the best results in your photography or videography. A tripod is an indispensable tool for providing stability, but there are a few things you can do to make it even more stable. By choosing a stable location, using the center column and feet correctly, adding weight to the tripod, and paying attention to your shooting conditions, you can improve the stability of your tripod and get the sharp, clear shots you need. With these tips in mind, you can take your photography or videography to the next level and achieve professional-quality results.
